Raspberry Pi 4BをUSBメモリやUSB接続M.2 SATA SSDから起動(boot)するにあたり、リリースノートとUSBブート対応のbootloaderバージョンの確認、bootの優先順位を変更する手順のメモです。
USBブート対応のbootloader_versionの確認、アップデート手順
(1)bootloaderバージョンの確認(2021/9/24 追記)
Raspberry Pi のbootloader のリリースノートは下記にあります。BETAは、新機能、開発/テスト目的であり、自己責任での利用です。
下記の記載から2020-09-03 release 以降のバージョンであれば、USBブートに対応しているものと思われます。
Raspberry Pi4 bootloader EEPROM release notes
2020-09-14 Promote the 2020-09-03 release to be the default EEPROM images.
・Promote the 2020-09-03 bootloader EEPROM and VLI 0138A1 as the default release (critical folder).
Interesting changes since 2020-04-16:-
・・・・・・・・・Add support for booting from USB mass storage devices.
https://github.com/raspberrypi/rpi-eeprom/blob/master/firmware/release-notes.md
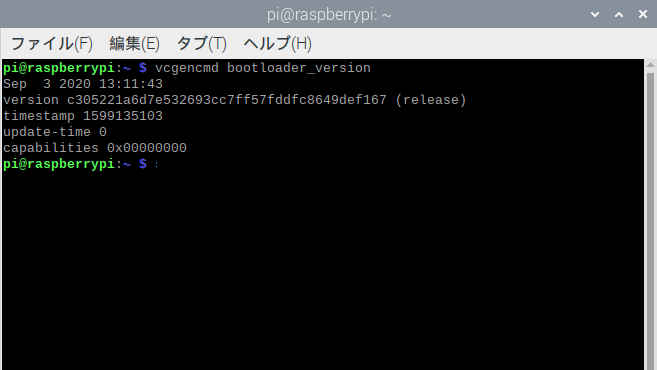
製品の bootloaderバージョンの確認はLX Terminalに下記コマンドを入力します。
vcgencmd bootloader_version2021/02/21に購入したラズパイ4Bのbootloaderのバージョン日付は、2020年9月3日 でしたので、USBブート可能なEEPROMでした。
(2)bootloaderのアップデート
bootloaderのバージョン日付を確認して、”必要があれば” EEPROMのアップデートを行います。
リリースノートにmanufacturing releaseとなる最新のdefault versionがありました。
Raspberry Pi4 bootloader EEPROM release notes
2021-04-30 – Update default version to 2021-04-29
https://github.com/raspberrypi/rpi-eeprom/blob/master/firmware/release-notes.md
・The manufacturing release has been updated to pieeprom-2021-04-29 so update the default release to match this.
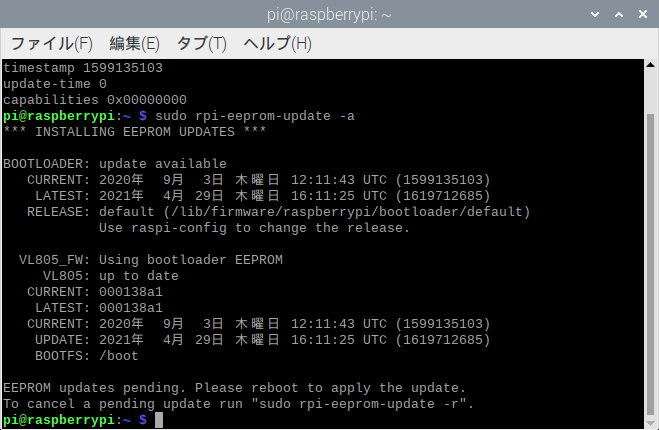
LX Terminalに下記コマンドを入力してアップデートを行います。
sudo rpi-eeprom-update -abootloaderのバージョン日付は、2021年4月29日になりました(2021/6/26時点)。
ラズパイ4Bを再起動してバージョンアップを反映させます。
Bootの優先順位を確認
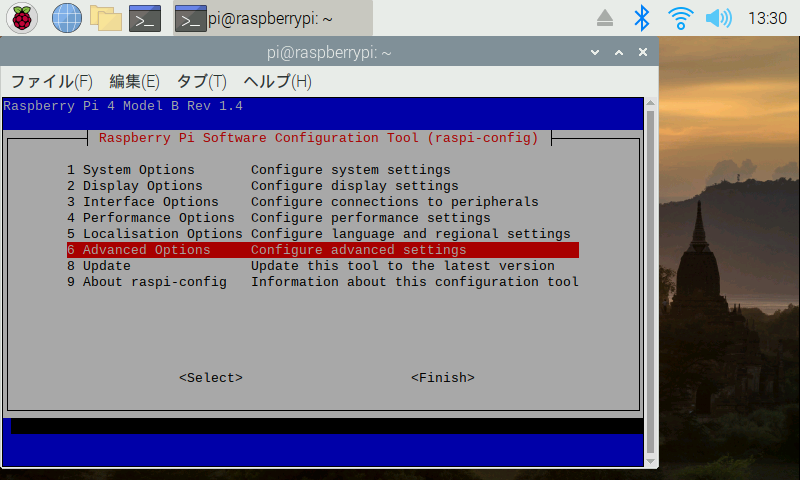
(3)raspi-configでBoot Orderを確認、選択
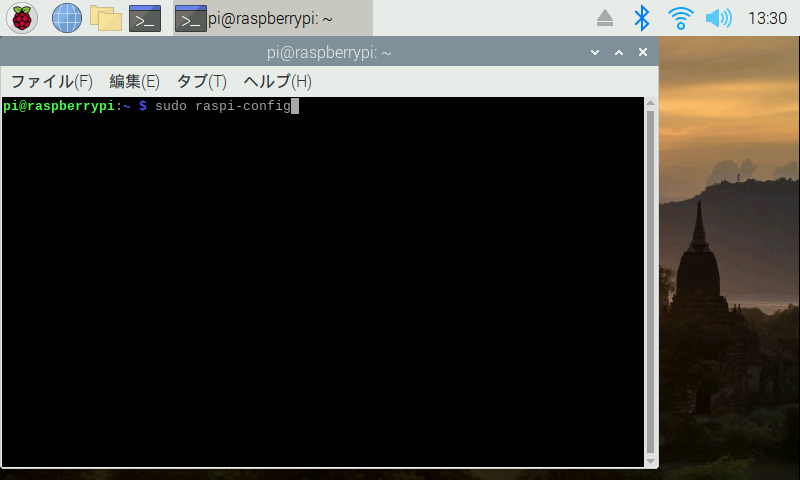
Raspberry Pi OS画面の左上タスクバーにある「LX Terminal」を起動して、Raspberry Pi Software Configuration Tools(raspi-config)を起動します。PCのBIOSライクなメニューがでます。
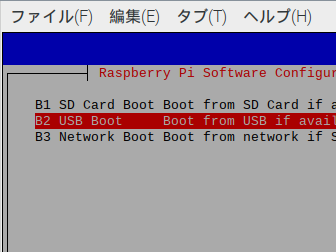
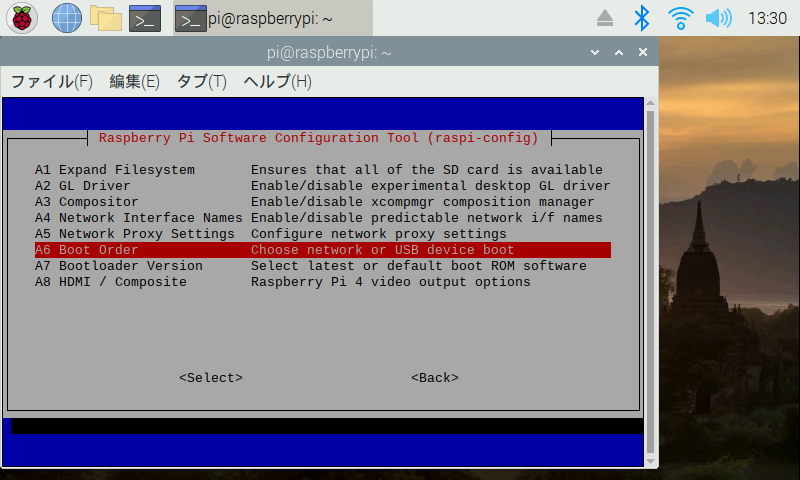
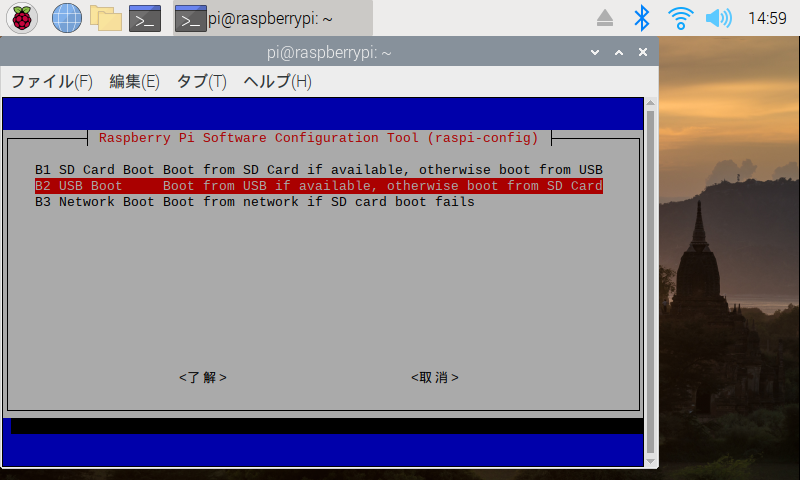
sudo raspi-configAdvanced Options を選択 –>A6 Boot Orderを選択すると、起動順位の選択メニューが表示されます。B2が明示的なUSBブート優先ですが、B1でもmicroSDカードブートができない場合はUSBブートになるようです。
念のため、この画面で B2のUSB Bootを選択しておきます。この後、確認メッセージに従って操作し、rebootのメッセージがでたら再起動します。

2021/6/26時点の Boot Order画面のキャプチャです。
今後raspi-configのバージョンアップでメニュー構成、表示順が変わる場合があります。
(4) OSイメージを書き込んだUSBメモリをセットして起動
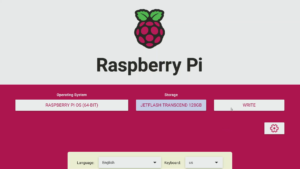
「 Raspberry Pi OS 」などbootするOSのイメージファイルを PCから「Raspberry Pi Imager」 や balenaEtcher を使って、直接USBメモリや M.2 SATA SSD に書き込みます。
その USBメモリや M.2 SATA SSD をラズパイ4BのUSB3.0(挿込口部分が青いUSBコネクタ)に挿して Raspberry Pi 4Bの電源を入れると、OSの初期セットアップ画面が開きます。
なお、既にmicroSDカードでセットアップ済み、かつUSBブートに対応しているOSであれば、「SD Card Copier」で 「New Partition UUIDs」にチェックを入れてUSBメモリや M.2 SATA SSD にコピーして再起動すればUSBブートできます。
USB3.0対応の高速なUSBメモリやM.2 SATA SSDを使うことでより快適な動作が期待できます。
手持ち品を使ってhdparmで読み出し速度を簡易的に測ったところ、microSDカードで約43MB/s、USBメモリで約261MB/s、M.2 SATA SSDで約288MB/sでした。
当サイトで USBブートできたOS(2022/2/4時点)
当サイトでRaspberry Pi 4BのUSB3.0コネクタに挿したUSBメモリや M.2 SATA SSD からのBootできたOSのメモです。
| # | USBブートできたOS | OSバージョン | 当サイトのセットアップ手順メモ |
| 1 | Raspberry Pi OS(32bit) Raspberry Pi OS(64bit) | Debian version: 11 (bullseye) | 64bit版Raspberry Pi OSが正式公開、Raspberry Pi 4BでUSBメモリからOSブート |
| 2 | LibreELEC Latest Stable Version (Old Version) | 10.0.2 | LibreELEC+Raspberry Pi 4BでAmazonプライムビデオを見る環境を構築 |
| 3 | PINN-Lite Download Latest Version (pinn-lite.zip) | ・Raspberry Pi OS (32bit) ・Raspberry Pi OS (64bit) ・LibreELEC 10.0.2 | PINN-Liteを使ってUSBメモリからRaspberry Pi OSとLibreELEC をデュアルブート |
Raspberry Pi4Bのみでネットワークインストール(2022/7/7追記)
USBキーボードと有線LAN接続が必要ですが、bootloaderがバージョンアップしてネットワークインストールに正式対応していました。
これまでPCを使ってUSBメモリやmicroSDカードにインストールイメージを書き込んでいた作業が不要となり、Raspberry Pi 4BのみでOSのセットアップが完了できて便利です。
ネットワークインストール(USBメモリ):
ネットワークインストール(microSDカード):